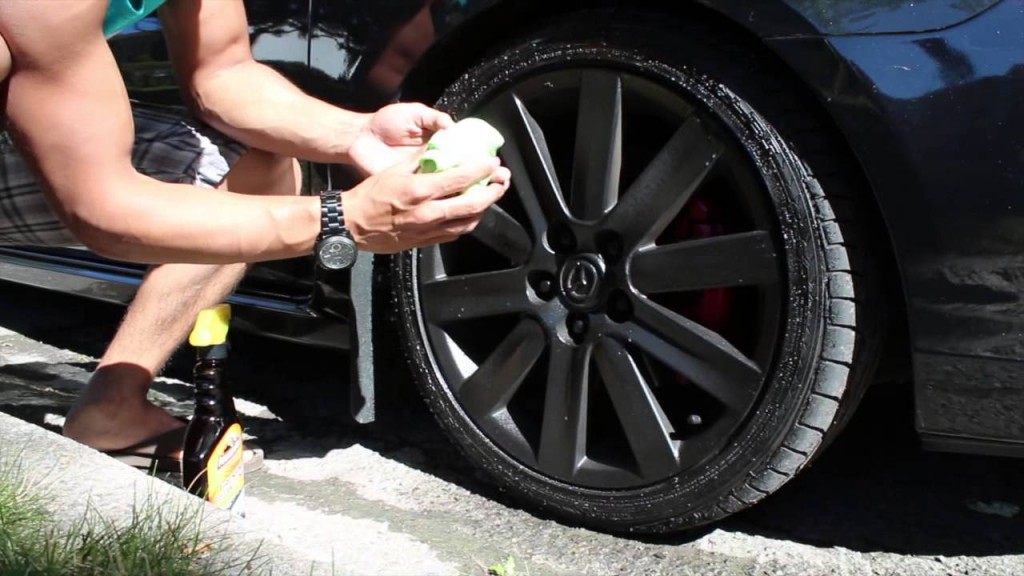
 Plasti Dip is a substance that is used on the wheels and bodywork surfaces of cars in order to protect their surfaces during the colder winter weather. It is a durable and high quality substance that is highly resistant to cold, sun fading, winter ice, and substances such as salt. Plasti Dip is also an easily removable substance which can be peeled off with ease even after prolonged use for long periods of time. In this step-by-step guide, we'll be showing drivers how to easily Plasti Dip their car and car accessories, giving it a whole new look as well as a protective covering against the elements. It's simple for almost anybody to use this product in order to give their car a clean and matte look.
Find a Suitable Area
When Plasti Dipping your car, it's important that the car is placed in a shaded, well ventilated area. An open garage is the best option, however if you don't have access to a garage, choose an area that is well shaded outside and isn't humid. When going through the process of Plasti Dipping it's important to avoid direct sunlight.
Materials
Once you've found a suitable area to Plasti Dip your car, you'll need to gather up the materials that you'll be using. You will need painter's tape at around 1-3 inches wide, and newspapers for covering the windows of the car and any other areas that you don't want to Plasti Dip. You will need around 15-20 cans of Plasti Dip (you can buy this at autobodynow.com) depending on the size of your car, and a spray gun and spray trigger are optional but advised. If you're using a spray gun, you'll need two one-gallon buckets of Plasti Dip. For yourself, you'll need old clothes, googles, plastic gloves, and a painter's mask. Have some water to hand as well, in case of an emergency.
Getting Started
Before you begin the process, you will need to ensure that the car is fully cleaned and dried. Once you have done this, you can begin to cover the windows and areas not to be Plasti Dipped with the newspaper and painter's tape. Shake the can before you begin.
Painting
Paint the Plasti Dip onto your car in sections holding the can 6-8 inches away, for example add a first layer to the hood, and whilst it is drying add a layer to the roof. You can start wherever you like, however it's important that you don't touch any areas of the car where the Plasti Dip is still curing. Once you have added the first later to the whole car, allow 15-30 minutes for the Plasti Dip to dry before repeating the process. The average amount of layers needed is about 4-5. Once you have added all the layers, remove and dispose of the newspaper and painter's tape. The Plasti Dip will take around four hours to cure in total.
Do you have any top tips for Plasti Dipping a car? We'd love to hear from you in the comments.