Looking back 2008, Windows Vista introduced for the first time the full image backup system, then it was expanded to every edition of Windows 7 and now Windows 8 has two methods to create an image backup. Creating an image backup is crucial in case of an operating system failure or if it crashes because if you can’t access the boot loader, there’s no option other than reinstalling Windows8 from a DVD or USB pen drive. Thought Windows 8 no longer has the “Backup and restore” option in the Control Panel, it still features the Windows 7 File Recovery to help you dealing with image backups.
I do not advise to backup your system to a network location while on WIFI connection, but if you connect by network cable; while in restore mode, Windows won’t see any WIFI networks.
Follow these steps for a successful backup operation.
1. In the Control Panel, make sure you change the View By setting to Small Icons to get access to all options.
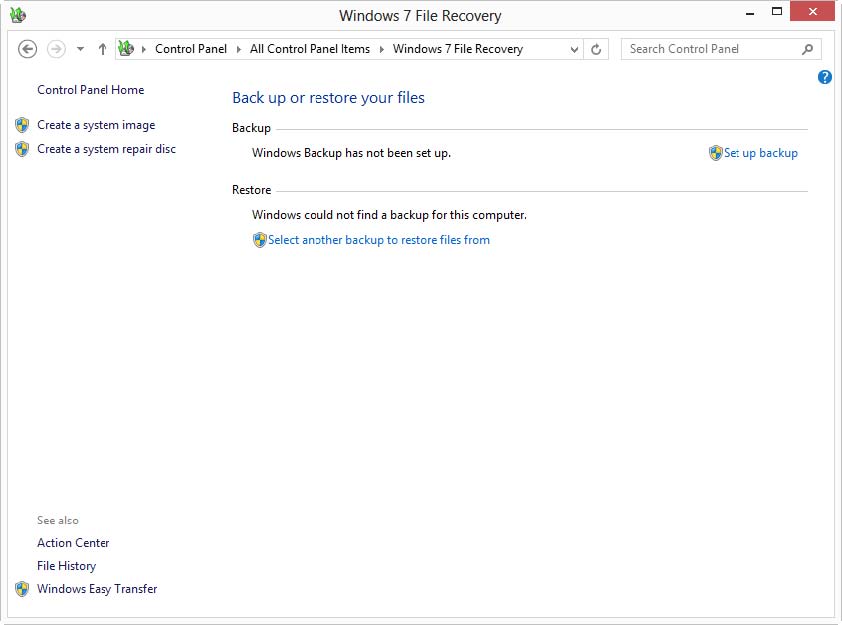
2. Chose the Windows 7 File Recovery.
3. In the left panel of the File Recovery, click Create A System Image.
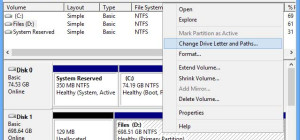
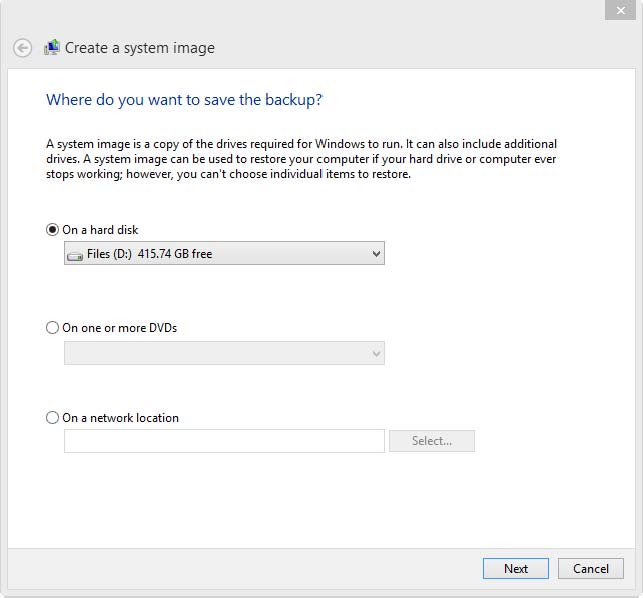
4. Now select the location for your image backup in the dialog box that appears and then click Next. Windows 8 will select your Windows partition for backup.
5. Click Next to begin the backup process. It will take some time depending on your machine’s hardware capabilities.
Please note that once the backup process accomplished successfully it is also recommended to create a refresh image too (so you can later restore Windows quickly in case the boot loader is still OK and not corrupted). It can be stored on either your backup partition or files partition if no space available on the first one.