 Lifewire explains: “Podcasters require only a computer, microphone, headphones, and recording software to create audio content for listeners to enjoy.” However, you might not have realised that this computer can even be a Raspberry Pi.
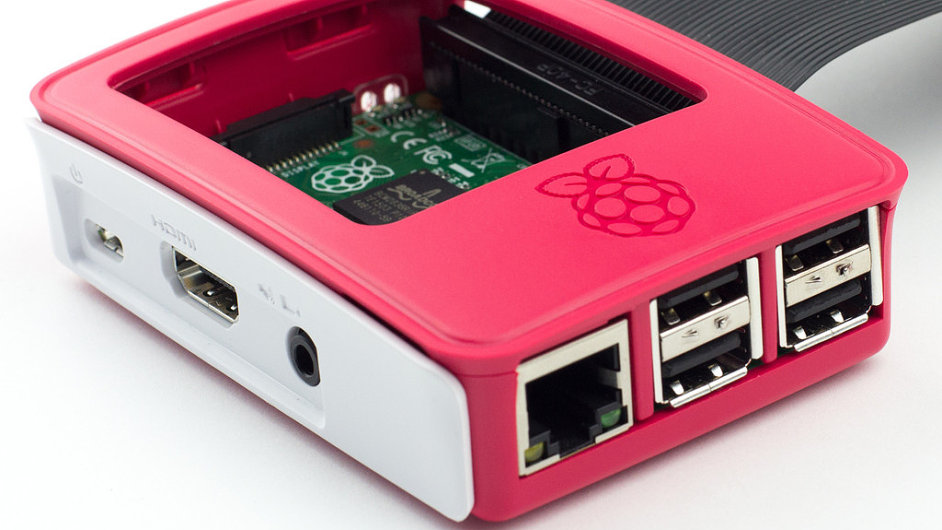
Yes, with that programmable, customisable microcomputer, you can create your own podcast recording station. Still, to get the best results, you should be strategic with how you assemble it.
Tips for choosing the right microphone and headphones
It’s possible to wirelessly connect a Bluetooth microphone to a Raspberry Pi. However, attempting to actually use this setup for podcasting can be a hit-and-miss affair, with audio quality potentially not quite turning out as you had hoped — if you don’t run into compatibility issues first.
Circuit Basics states: “USB microphones are probably the most reliable way to record audio with a Raspberry Pi.” You could buy a Raspberry Pi-compatible USB microphone online from the Maker Store run by The Pi Hut, a specialist retailer of Raspberry Pi units and add-ons.
Wearing headphones as you record sound can enable you to judge whether it is coming out as you want it to. The best headphones to use for this purpose are the hard-shell variety with a resilient plastic or rubber outside, as this will trap the sound.
What podcast recording software should you use?
You could initially feel indecisive at this stage, as there are many different recording applications on the market. However, Audacity is not only free but also available for multiple platforms — including, especially crucially for this guide, Raspberry Pi OS.
Once you have dived into the OS, you can install Audacity by typing the command ‘sudo apt-install audacity’ in the Terminal window.
The MagPi Magazine advises: “Open the program, and make sure it is using the correct audio input and output devices by checking the device pull-downs on the taskbar, or by opening Preferences from the Edit menu.”
Now it’s time to start the actual recording process…
You can record audio using the Raspberry Pi Desktop operating system. To do this, start by heading into Preferences and then Audio Device Settings, where a slide controller will allow you to change the USB microphone’s amplification.
Here, you can also start recording audio simply by pressing the red record button. However, with a Raspberry Pi, you can also record audio from the command line. This would involve firstly entering the command ‘lsusb’ to check the USB microphone’s connection.
To begin recording audio, you would input the command ‘arecord -D plughw:1,0 –duration=60 test.wav‘. The ‘–duration=60’ part specifies the recording’s duration in seconds — meaning that, yes, in this instance, the Pi will spend a consecutive 60 seconds recording audio.
Once that audio has finished recording, it will be saved to the ‘test.wav’ file, enabling you to later retrieve the audio so that you can use software like Audacity to edit this recorded audio as you see fit. Once you are satisfied with the edits you have made, you can proceed to post the content online as a podcast episode.