 In the last years, the WiFi (wireless fidelity) technology became more and more popular among people owning tablets, smartphones or laptops. If you own at least one such device, you will want to connect it to the Internet via WiFi or Mobile Broadband. Even though you can get online via 3G or 4G connections, such technology is a bit more expensive and not all devices actually supporting it. A SIM card is required and the vast majority of notebooks, netbooks or ultrabooks don’t even have a slot for it.
So, let’s see how to connect your Windows 8 device to WiFi.
1. Open the Charms Menu as described here.
2. Go to the Settings icon.
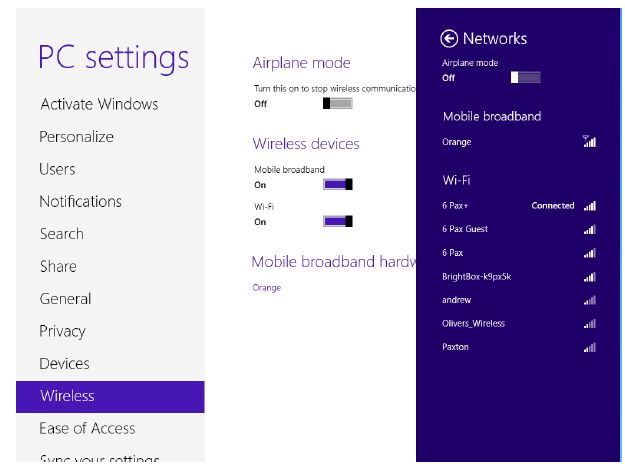
3. Click the Network icon. It is the first icon of the six appearing the bottom-right corner of your screen. If at least one unencrypted wireless network is detected then it shows the message “Available”. If your device supports 3G or 4G, then you will see “Mobile Broadband” and WiFi connections listed separately on the screen.
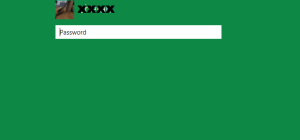
 4. Choose the network you want to connect to. If encrypted, it will ask for a password; otherwise simply click its name and wait for the connection. Windows 8 has an interesting feature so you may right click the name of a network and it displays an estimating value for data usage. Such feature is particularly important if you are on a limited-data plan so you don’t go over the limit.
Once connected to the wireless network (or 3G/4G), you are asked about what type of network you are connected to, so additional security parameters are set by the operating system. Here are the options:
1. Home network. Choose this option if you are connected from your home to your own WiFi network. With this option enabled, you are allowed to share documents, files or printers between all computers in your network.
2. Work network keeps your own files safe from others but allows sharing common files, documents and printers with other computers on the network.
3. Public network. Select this option if you connect to public WiFi networks in shops, malls, trains, etc… The access to common files, documents and other personal files is not allowed with the option enabled. Never allow file sharing on public, unsecured and unencrypted networks.
Here is a nice video on how to connect your Windows 8 PC to WiFi:[youtube https://www.youtube.com/watch?v=-dUefatppKw]
Troubleshooting
If you encounter difficulties when connecting to WiFi in Windows 8, try restarting your router and the computer. If you use mobile broadband via a USB stick, unplug and plug it again. Also check your device has the Airplane mode switched off.