
Windows’ new operation system is efficiently setup by default so no changes and tweaks are required. Anyway, a savvy user can opt to do some changes that could actually improve performance and make Windows 8 run more smoothly to render a better performance overall.
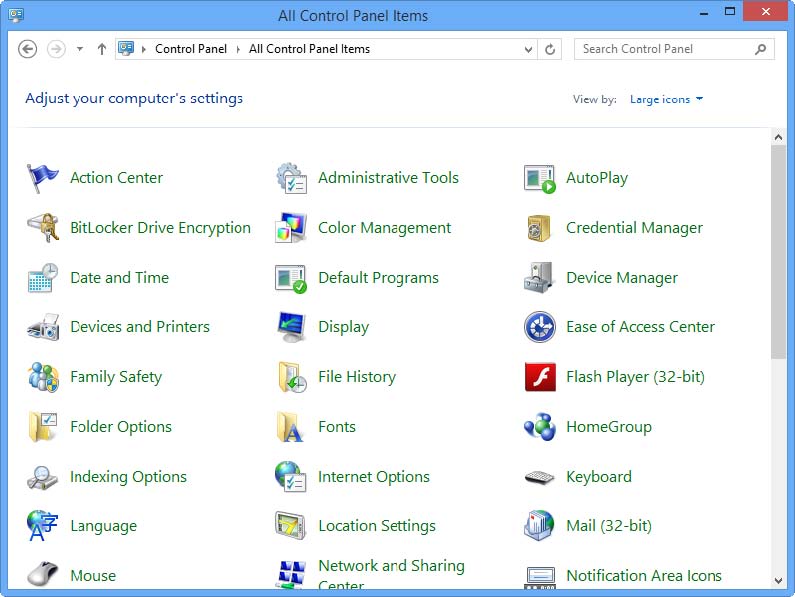
These settings can be accessed right from the Control Panel. On the start screen, just type “control” and search for this term.
Similarly to older versions, Windows 8 uses a space on the hard disk to better manage memory to load programs quickly, called paging file or virtual memory; as compared to previous versions of the OS, virtual memory in Windows 8 better addresses the daily tasks users have to accomplish. Windows manages itself the size of the paging file but sometimes it can get too big or too small causing problems, ultimately leading to unwanted effects like slowing down of the machine or difficulties in accessing data from the disk or even the “blue screen of death”. It happened to me several times, especially with Windows 7. I advise you change the virtual memory size. To do this, here are six steps to follow:
1. Go to Control Panel>System And Security and click System.
2. Click on the Advanced System Settings in the panel right side.
3. Click the Advanced tab in the System Properties box.
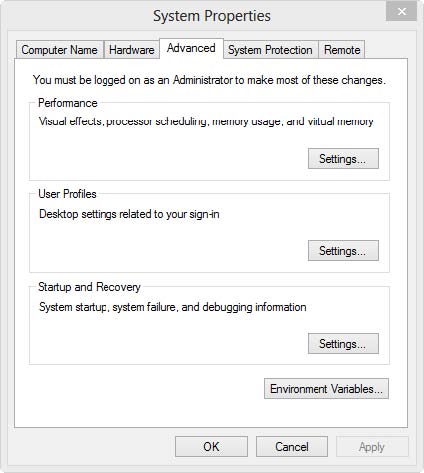
4. Click Settings in the Performance section.
5. Click the Advanced tab in the dialog box.
6. Click the Change button.
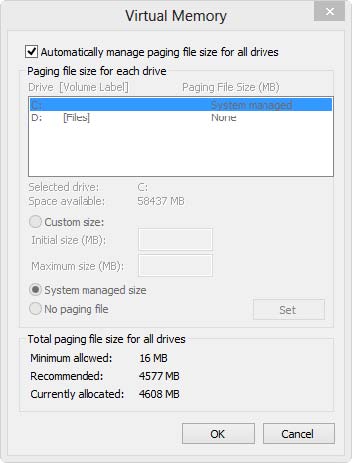
Now in the Virtual Memory dialog box you can change the pagine file settings.
Clear the Automatically Manage Paging File and selecting the Custom Size option to tell Windows to keep the paging file at a constant size; the access to files is quickier so Windows no longer has to resize the paging file according to the amount of data temporarly stored in there. In both the Initial Size and Maximum Size enter the recommended size for virtual memory as suggested by Windows (usually above 5GB). Finally click on Set and then OK three times to close the boxes.
Does your Windows 8 system works more smoothy now? Please let us know in comments.


hei:D thank you a lot this tutorial helped me..oh..my windows 8 run better
Thanks for a clear straight forward step by step tutorial with no BS