The Wondershare Filmora Video Editing Software is a well-known video editor for both Mac and Windows users. It has a clean and simple user interface that’s easy to use even for complete beginners or anyone who has never done video editing before. It is the perfect place to start if you are completely new to video editing. Nevertheless, don’t mistake it for a cheap software that you won’t be able to do anything with. The Filmora Video Editor has many useful and convenient features that will enable you to achieve professional looking results in no time. It has over 100 video effects that you can apply to your projects to make them look professional and sophisticated – like something from a sci-fi movie. Here is a quick guide to get you started with this adventure of a lifetime.
First Steps
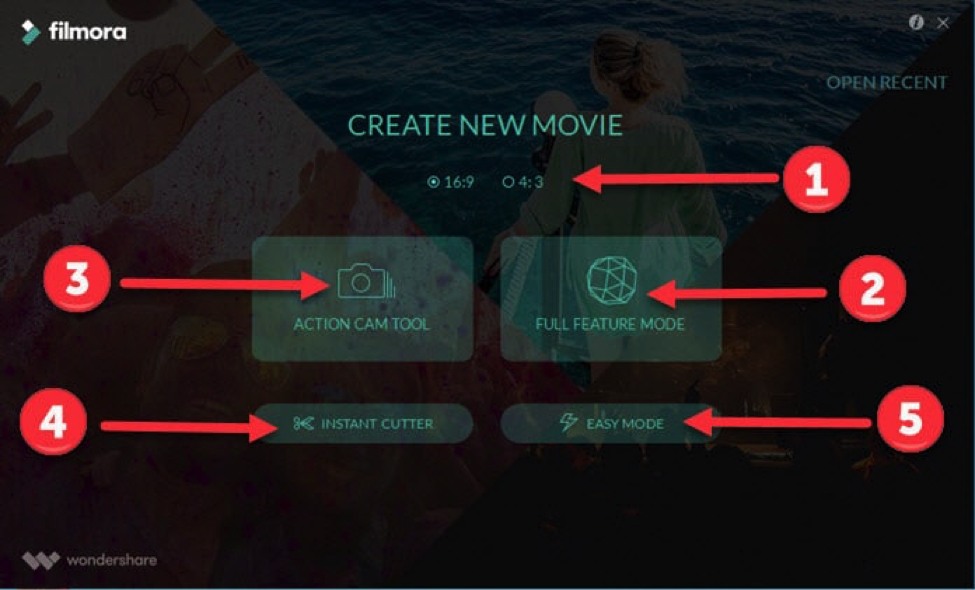
The Filmora Video Editor is meant for both beginner and advanced video editors. Considering the title or this article, I’ll assume you are a beginner. The software gives you two modes to choose from, Easy and Full Feature. The Easy Mode (5) is ideal for beginners because it won’t bombard you with a lot of features and options. It is the perfect place to start as you familiarize yourself with the software. After you know your way around the software, you can try out the Full Feature Mode (2) to do even more cool stuff.
From the image above, you can also choose the preferred aspect ratio of your screen (1) – 4:3 or 16:9. You can see that there are two other options, Instant Cutter (4) and Action Cam Tool (3). You can explore those later on and discover what they can do. For now, let’s check out the easy mode. I did indicate that this was a quick start guide, didn’t I?
Video Editing

The Wondershare Filmora has an intuitive user-friendly interface. The Easy Mode is straightforward, and that’s why it’s ideal for beginners. It enables you to create your professional looking videos in simple steps. The software supports the major video file types out there, 4K, MP4, MKV, or anything that YouTube supports. It’s perfect if you want to share your masterpieces with the world on YouTube. Furthermore, the Easy Mode comes packed with free themes for you to try out and you can even customize your videos with your own background music. Ok, here is how things are done:
Import Your Video
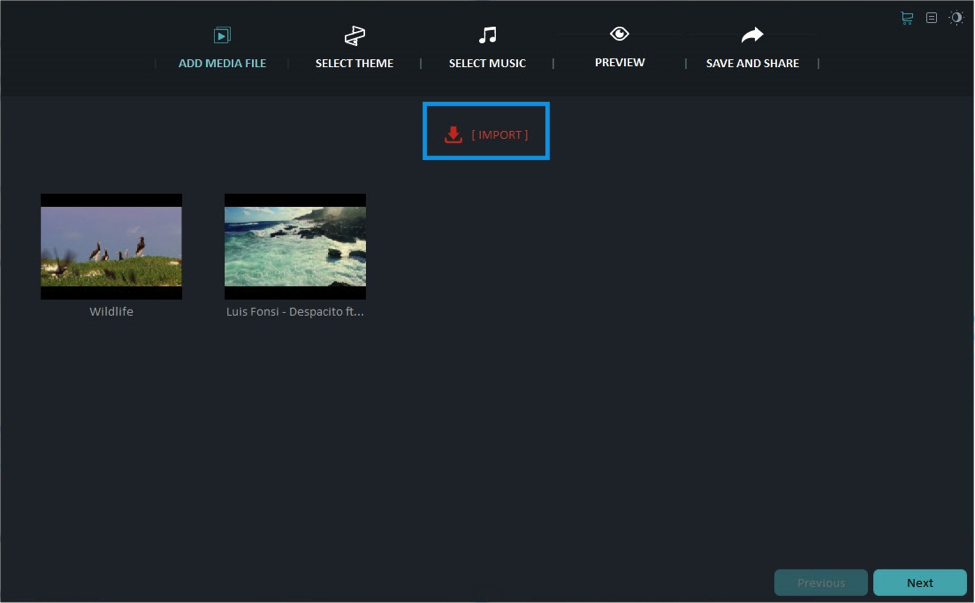
You don’t necessarily have to be a computer geek to know where to start, just click “Import”. From the window that pops up, locate your files and import them into the software.
Pick a Theme

Next, click on the “Select Theme” menu item. You’ll see various themes to pick from. Consider the general mood of your video and pick a theme that agrees with it. You don’t have to, though; you can try to be a bit abstract with your ideas and pick anything that conveys the message you want to send with your video. With creativity, limits only exist in your mind.
Add Some Cool Background Music
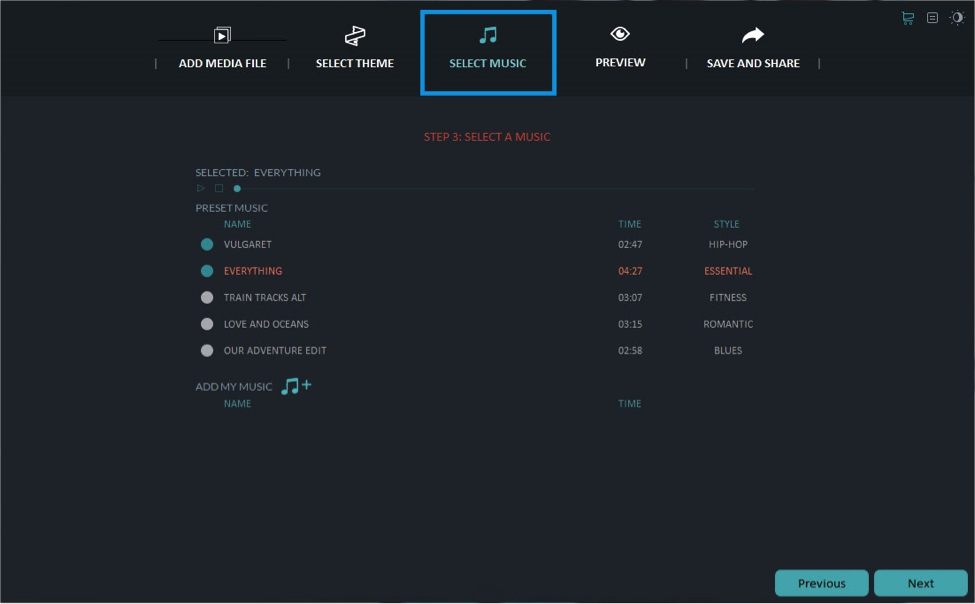
You know the drill by now. Everything is on the menu items. This is the Easy Mode. You want to do something, look for the menu item that corresponds to what you want to accomplish and click on it. I don’t think I have to show you that now you have to click on the “Select Music” menu item to add some beautiful background music to your masterpiece.
Save Your Work
…to prove to your friends that you did something cool, and feel free to share what you created to show them the guru you are.
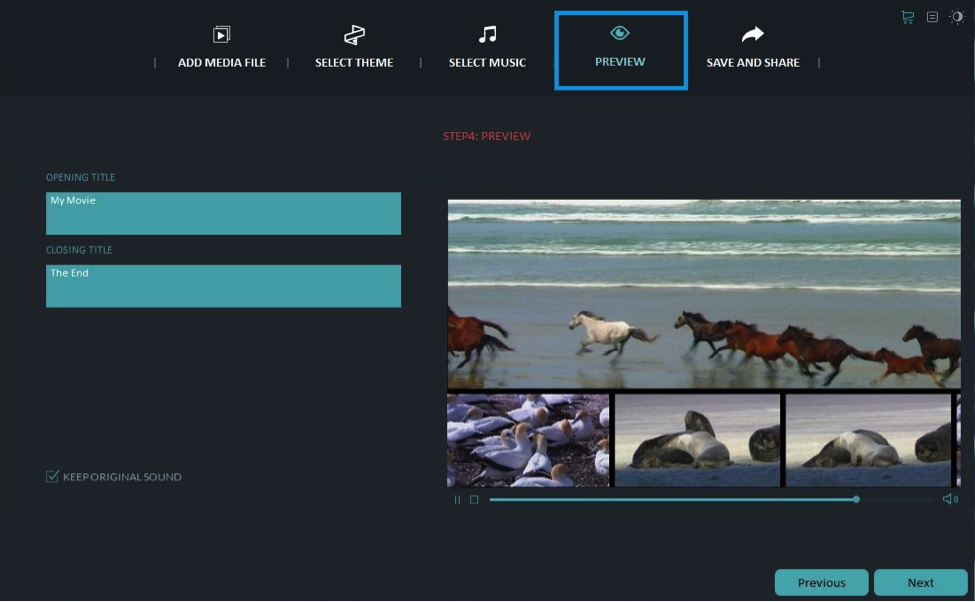
Preview your work first to make sure that everything is just as you intended.
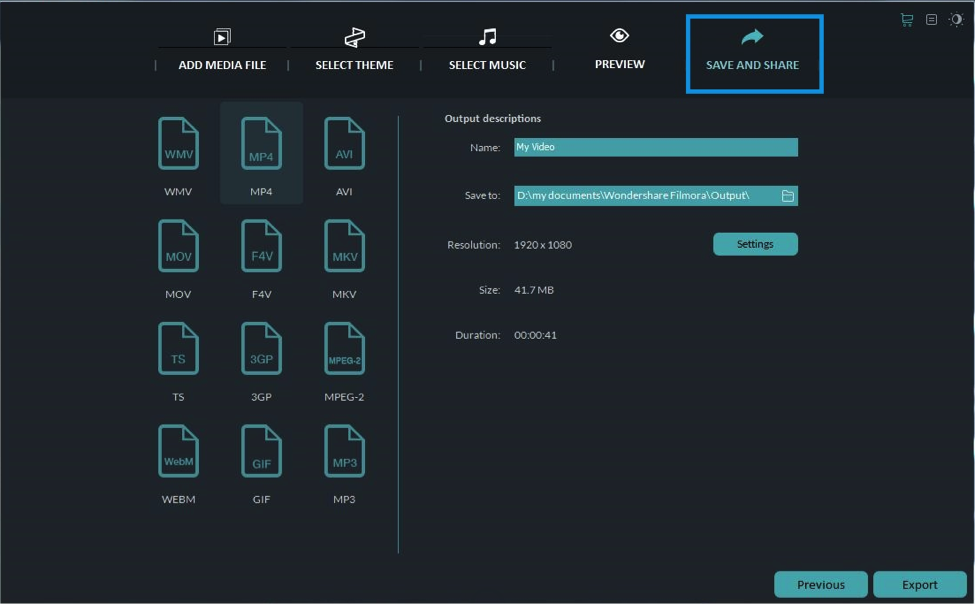
Finally, don’t make the rookie mistake of not saving your work. It would be a shame when you boast to your friends that you made a cool video (when they know you have no video editing knowledge or skills and won’t believe you without proof), only for them to demand proof, and you fail to show it to them because – You Forgot to Save. Remember to save your masterpiece and export it in your preferred video format.
Things can’t be any simpler.