 A lot of love and hard work goes into completing a project even if you have the most detailed woodworking plans laid out right in front of you – from cutting each bit of wood to sanding it, joining bits together, and giving it the final shape. After doing so much, it is natural to want to ensure that what you made lasts – and one of the best ways of doing that is by applying wood finish.
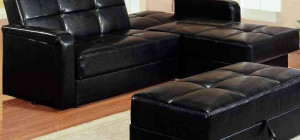
Whether it’s a wooden computer table, bookshelf, or something as small as a coffee mug or wooden smoking pipe, wood finishes can go a long way. Should you decide to leave your crafted item unfinished, it not only gives off a rather crude outlook but also exposes the wood to environmental factors.
Here, we will discuss why wood finishes are important and present you with a quick guide on how to apply the perfect wood finish on your woodworking project.
Why Include Wood Finishes in Woodworking Plans?
While there are many reasons why people apply finishes to their wood projects, the two most prevalent ones include:
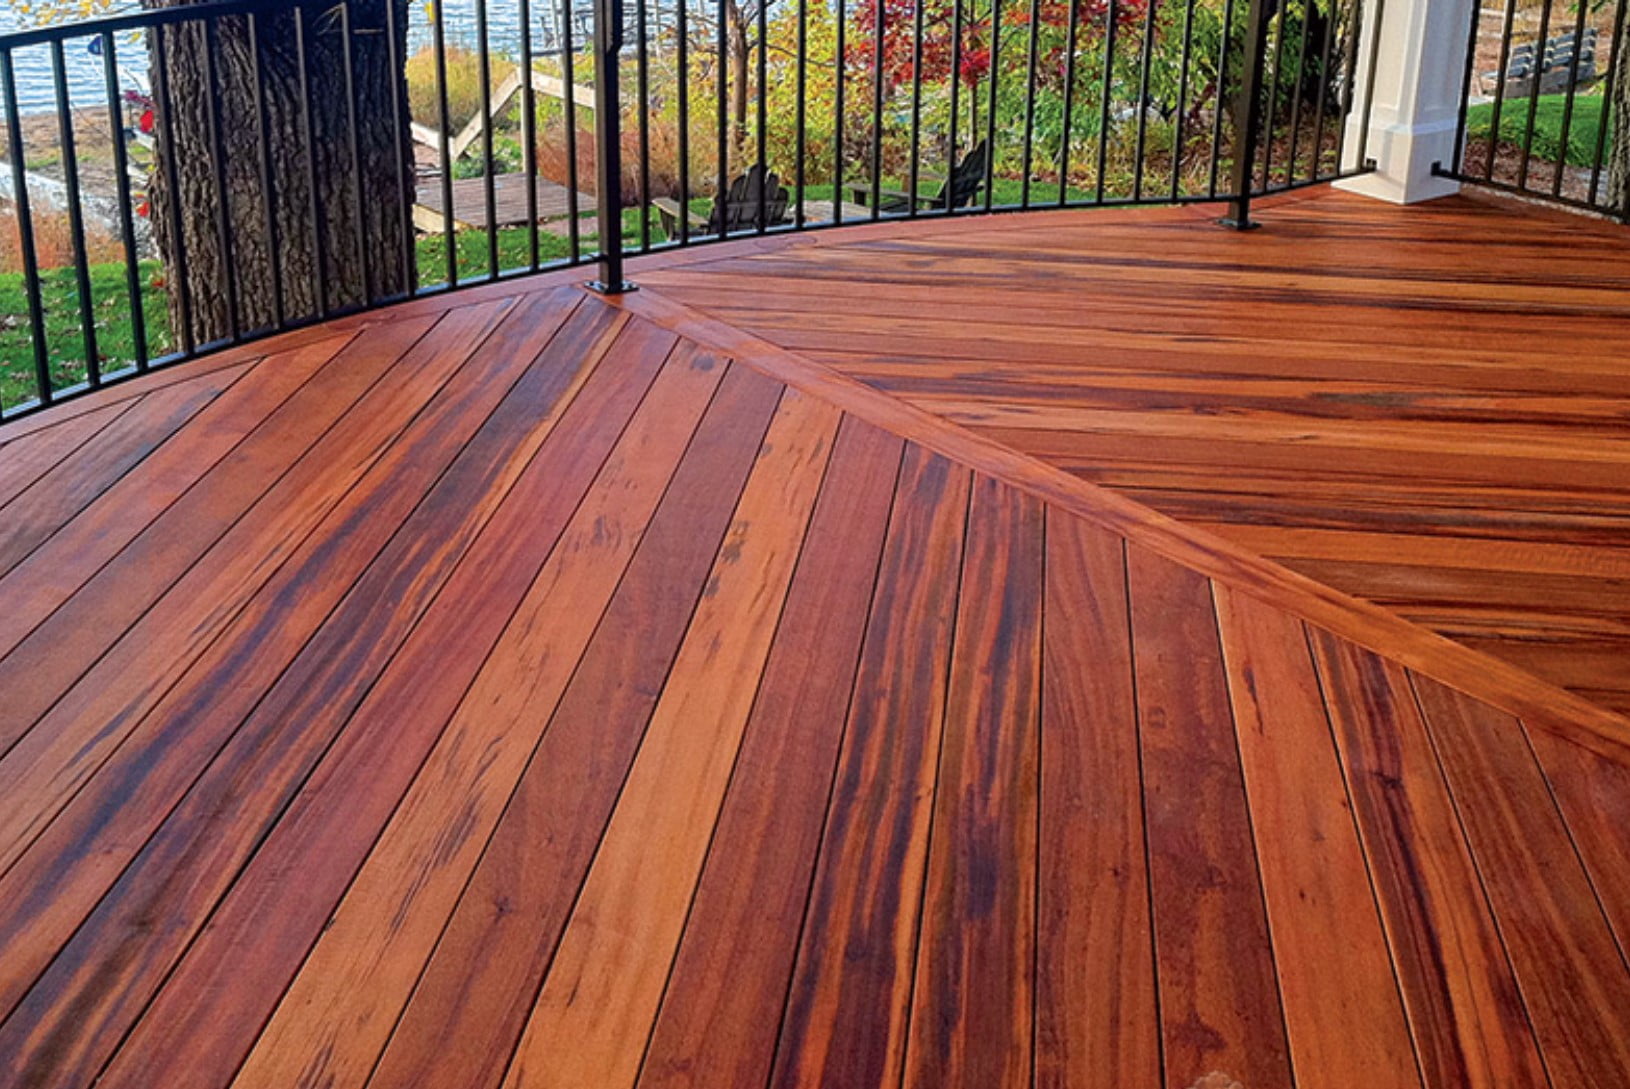
- Wood Protection. Wood finishes help protect the final project scratches, moisture, food spills, stains, and most importantly, UV damage from sunlight. This drastically increases the life of not only the wood but also what you made.
- Aesthetic Appeal. A wood finish makes the wood look great as it pops out the grains and age-lines, making them more apparent and thus more attractive.
- Feel. Finishes either create a non-porous layer over the wood or fill the existing pores thus giving a very nice feel to the finished product.
Guide to Applying Wood Finishes
Even the most expensive wood finishes, be it oil-based, water-based or a clear finish, can be rendered useless on top of looking drab and ‘ugly’ if the wood finish isn’t applied the right way. So, here’s a quick finishing guide for you to incorporate into your woodworking plans:
Preparing the Wood
First things first, before opening up your wood finish can, you need to prepare the wood first. Whatever shape your wood is right now, the first step is to sand it down to even the surface out.
Start off with a 120-grit sandpaper and once you’ve sanded the whole thing, move up to 220 grit. Some people go higher, but since you’re applying a finish already, there’s really no need. The finish will give you the plain and smooth surface you’re looking for.
Next, it’s time to thoroughly clean saw dust left behind after the sanding process otherwise it could ruin your finish. Don’t use a damp cloth right off the bat, instead either use a blower or a vacuum cleaner first and then wipe everything off with a slightly damp cloth.
Wipe everything down with paint thinner to make sure you have a clean surface. You’ll also get a quick peak at what your finish will look like as the paint thinner dries away.
Oh, and try NOT to smell the wood at this point – we had to learn that the hard way.
Which Wood Finish to Choose?
There are an overwhelming number of options when it comes to choosing a wood finish. However, for the sake of simplicity, we’ll only discuss a few common wood finishes that get the job done, and they get it done right.
Paint
There’s a reason why we cover our homes with paint – oil or water based. They are durable, can withstand intense heat and cold, and can even endure rains. When applied on wood, paint can offer the same protection, but at the cost of hiding the wood’s texture.
Oil-Based Finishes
Oil finishes are easy to apply too, but you need to be much more careful with these as with paint. They are clear and so maintain the wooden aesthetic, and are often preferred by most professional and hobby-woodworkers. These include Danish oil, linseed oil, Tung oil, or others. Oil finishes penetrate the surface of the wood and highlight the grain.
Layered Finishes
These come in the form of colored and clear finishes, so you can choose according to your preference. These include polyurethane, lacquer, and many other similar varnishes. Wax-based wood finishes also fall in this category. As the name suggests, these finishes form a layer on top of the wood’s surface.
In terms of wood protection, paint offers the most protection against external factors, after which come layered finishes and then oil finishes. However, oil finishes offer the most aesthetic and physical appeal, so every finish has something going for it.
Application Process
To apply a finish, take a high-quality brush and soak it slightly in paint thinner. Next, dip your brush in the finish, let the brush soak up as much finish as it can, and then start from one end of the wood and continue one slow stroke to the end. Make sure you don’t stop until you’ve covered the whole project.
Start with the vertical sides first to make the job a little easier.
If you miss a spot, leave it. Otherwise you risk making it worse. You can cover that spot in the next coat.
There are many free woodworking plans that include instructions on how to use a wood finish, how long to wait for it to dry, and how many quotes to apply. While optional, wood finishes have become an important part of every project, say a necessity today, in order to provide it with the desired level of protection.
So have fun with your project, make them shine like new with the proper wood finish, and just remember not to smell it and stay creative!
If you think we forgot to mention an important detail here in regards to wood finishes or if you have a neat application trick you’d like to share with us, let us know down in the comments. We’d love to hear more from our woodworking fans!