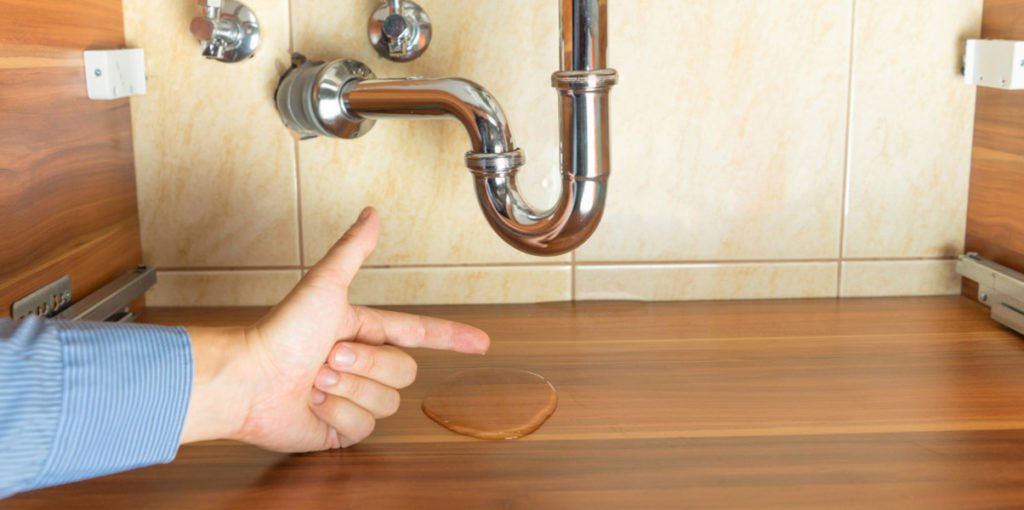
 A leaking faucet is annoying. During the day there will be many different things going on in your home, making it unlikely that you’ll hear the dripping sound. However, as soon as night arrives and you head to bed the house will become silent. At this point, the dripping faucet is likely to be very noticeable.
For some people, this means they won’t be able to get to sleep. For others, they are simply annoyed until they fall asleep. In both cases, a leaking faucet can increase your water bill by more than you may think.
It is possible and legally acceptable to fix the leaking faucet yourself. You can see how below. However, if you have any concerns about the process or the fact that you will be dealing with water then it’s best to call your emergency plumber and get them to take care of the matter for you.
After all, if you make a mistake with the plumbing you may end up with water everywhere in your home!
Shut Off the Water
Before you start doing any plumbing work at home you should shut off the water supply. This won’t prevent water from escaping into your home but it will limit it to the water that is already in your pipes. That makes it easier to control and collect the water, if necessary.
If you can shut the water off just to the leaking faucet then that’s fine. If not, you may need to shut off the entire supply.
Cover Your Drain
You are working over the sink and the sink has a drain. You need to cover this with a rag. If you don’t it is almost inevitable that you will accidentally drop something down the drain and spend a lot of time trying to get it back out.
While getting ready it’s a good idea to have some tape handy. You can put this around the grips of your tools to prevent damaging the faucet.
Remove the Cap
You may not realize it but the handle on your faucet is removable. It engages with the valve to open and close it. The handle is usually screwed in place. If you look at your faucet closely you’ll see that there is a decorative cap. This can be gently prised out with a screwdriver and will expose the screw holding the faucet handle in place.
You’ll be able to unscrew this and remove the handle.
Lift the Top Of The Valve
At this stage you can see the valve, this is the part that turns to allow water through. There should be nothing wrong with this section. But, you need to get to the washer that sits below it.
You’ll now want to use your wrench, with tape over the grips, to undo the nut on the valve. It shouldn’t be excessively tight.
Once it has been removed you’ll be able to lift the valve out of its socket. If you have forgotten to turn the water off, you’ll know about it now!
Replace The Washer
Under the valve should be a small black washer shaped like an ‘O’. It’s often referred to as an O-ring. This will be distorted, perished, or damaged in some other way. If there doesn’t appear to be one check the underside of the valve, it may be stuck to it.
Once you’ve removed it you can clean the valve and where it sits.
Then find another washer that matches the one you’ve removed. You should be able to get one at any hardware store.
Put it back into the faucet and slide the valve gently back on top.
Put It Back Together
You can now reassemble the faucet, it is simply a case of reversing the process of taking it apart.
Make sure you don’t overtighten the valve as this will damage the washer.
Once you have reassembled the faucet you can turn the water back on and check your supply. The faucet should work properly, open it to allow water through and close it to stop it, without any dripping.
Once you’re happy it’s working properly it’s time to get yourself a drink.


![Are You a Secret Hoarder? [Infographic]](https://lerablog.org/wp-content/plugins/wp-thumbie/timthumb.php?src=http://lerablog.org/wp-content/uploads/2014/11/Nation-of-Clutter-IG-v21.png&w=300&h=140&zc=1)