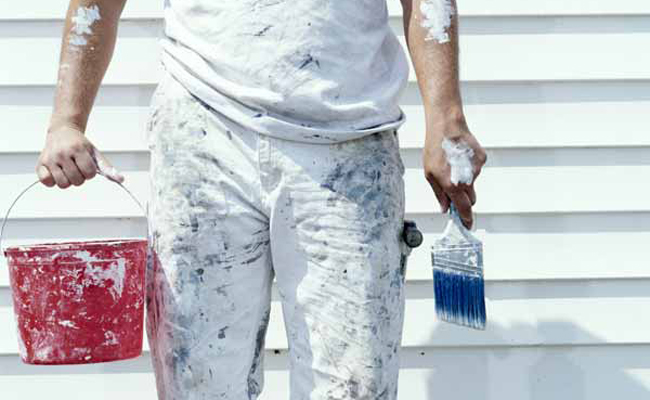
 If the exterior of your home looks a little grubby, perhaps it’s time for a new coat of paint. But where to begin? If you’ve never done a DIY job this big before and getting a professional in to do the job is too expensive, read on. Dakota Murphey, in collaboration with the experts atMC Property Maintenance, provides you with some great tips to help you paint the house.
1. A quick lesson in paints
A primer is used as the first coat, typically on bare wood or metal. It is specially formulated to help the top and undercoats stick evenly to the surface.
Gloss is a very shiny paint – the glossier it is the more hard-wearing. Matt paint has a dull or non-glossy finish. Gloss paints are usually oil or resin based and make for a very hard-wearing finish. Gloss is perfect for doors and window frames.
Satin, silk or ultra-gloss paints are the names that indicate the level of gloss or matt finish. Satinwood paint, for example, has a hard-wearing gloss finish but is less shiny than typical gloss paint. Eggshell usually means paint that’s one stage up from a pure matt finish.
Non-drip paints are a great alternative to ordinary gloss paint. They’re thicker and easier to apply and, as the name suggests, don’t drip off the brush onto your surfaces.
In the main, emulsion paints are water-based but some have vinyl or acrylic resins to make them hard wearing. There’s a choice of matt or silk finishes, and they smell less than other paints and dry more quickly. Emulsion is typically used for exterior masonry surfaces.
2. Choose your paint wiselySpeak to an expert at your local DIY shed or hardware store so you get the right paint for every part of the exterior of the house. You may require special wood or metal primers, masonry paint, or even bitumen paint for your gutters. Here are some tips when buying paint: · Because paint is sold in square metres, you need to measure and multiply the height and the width of the walls in metres to work out how much paint you need. More paint is better than less, so when calculating the total square metres don’t include the area of the windows. · Think about colour combinations in advance and try painting a small section first to see if your colour scheme works.· Buy good paint from a reputable manufacturer – cheap brands give poor results.
3.Before you start painting
Here are a few things to help you achieve the best results before you put any paint on your brush:
- Remember to hire a scaffold tower.
- Remember to remove door handles, door knockers, and so on.
- Always work from the top down
- Never paint in wet weather. Painting in the rain will result in patchy paintwork, and if you paint wood surfaces while they’re wet, the new paint will become flaky.
- Plan a proper timetable and work in stages – one surface at a time.
- Because windows and doors open and close, paint these first to allow them plenty of time to dry before they have to be closed.
4. Preparing the exterior walls
Wash walls with detergent to remove dirt, then allow to dry. Using a wire brush, carefully scrape and rub down any damaged areas, then fill any cracks with a filler or sealant. Use a masonry paint primer on new or bare surfaces.
5. Preparing metal, plastic and wood surfaces
Don’t strip old paint from external wood unless it’s flaking. Use sandpaper to smooth the surface then paint.
To prevent damp, paint your metal gutters with a heavy bitumen paint. Gutter exteriors downpipes and brackets can be painted with an undercoat and a weatherproof gloss. Bare metal areas should be treated with a metal primer.
Although plastic gutters and pipes don’t need primers, it’s a good idea to paint them with two coats of gloss.
6. Exterior primers and top coats
For doors and window frames, pre-paint with primer and undercoat. Then use a top coat of gloss or eggshell enamel paint.
For exterior wood – pre-paint with primer and undercoat, then paint with several coats of gloss.
For metalwork, if it’s a clean metal surface use primer, then undercoat, then a top coat of gloss.