 Paternity testing is a topic that has been explored at length by many salacious talk shows, and the question “Who is the father?” might have become something of a joke in those arenas, but paternity testing is an issue worth taking seriously in real life.
For many people, determining paternity is an utmost serious matter and has consequences for all parties involved. A person might need a paternity test for peace of mind or for legal reasons like child support, custody, inheritance rights, benefits rights, and more.
What is a DNA Paternity Test?
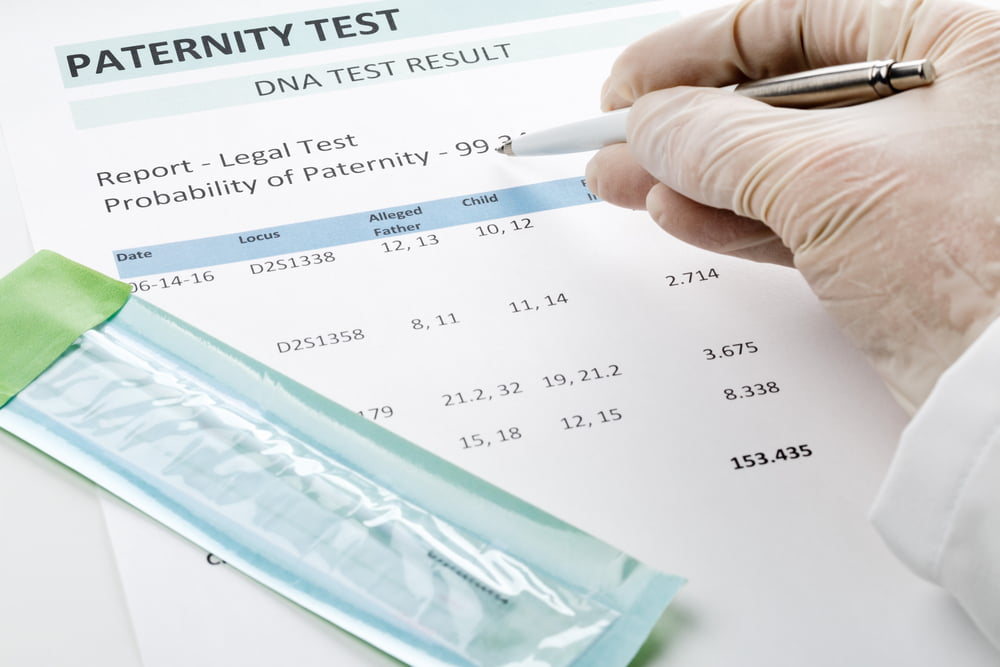
DNA paternity testing is the process where DNA profiles are analyzed to determine if or whether a specified individual is the biological parent of a child or even an adult individual.
Paternity tests can be performed in a medical setting, but an at-home paternity test might be a more viable option for those who need to determine paternity.
A home paternity test works by taking a saliva sample using a cotton swab which can then be sent to a laboratory so that DNA can be extracted. Generally, the DNA will be tested in an off site lab, even if you decide to see a medical professional determine the paternity. Only biological samples taken from the child or adult in question and the suspected father are needed. As a matter of fact, a biological sample taken from the mother is not required at all to determine paternity. You can click here to find out more info about home paternity tests.
Home Paternity Test in 5 Easy Steps
If you’re using a home paternity test you will want to follow all instructions to gain the most reliable results.
Step 1: How Many People Need Tests?
You will first need to determine how many individuals will be testing — this way you can order the appropriate amount of home paternity test kits to suit your needs. Generally, you’ll be able to order your kits online or over the phone. Home paternity test kits generally include collection gloves, cotton swabs, envelopes for sample storage, as well as a pre-paid envelope to successfully ship your samples to the respective lab.
Step 2: Collecting Samples
Collect DNA samples quickly and easily with a painless swab (similar to a Q-tip). Rub the swap against the inside of your cheek for at least 10 seconds. You will end up collecting four swabs per person (which ends up being two swabs per cheek). Swabs should be collected one at a time and always kept separate.
Step 3: Insert Secure Samples in Pre-Paid Envelope
You will want to collect all relevant samples and make sure that you have your forms in order. Insert all asked for materials into your pre-paid envelope. Mail the pre-paid envelope with materials to your home paternity test’s respective DNA testing laboratory.
Step 4: Sample Testing
Your sample will be tested, and most labs can give results in anywhere from 3-5 business days.
Step 5: Detailed Results
You can learn your results via mail, email, or by discussing your results with the agent who set up your initial testing.
We hope this gives you enough information to choose the right home paternity test for you.