 Videotaping your hunt helps to create memories of the experience far more vivid and engaging than photos of a buck or catch at the end of the event. Videotaping a hunt allows you to document the wonders you saw and the game that got away. You may be able to share video of hunting trips online or share memories of a child’s first hunt or family outing. Here are four essential hunting videotaping tips that will help ensure your videos look professionally polished instead of shaky and amateur.
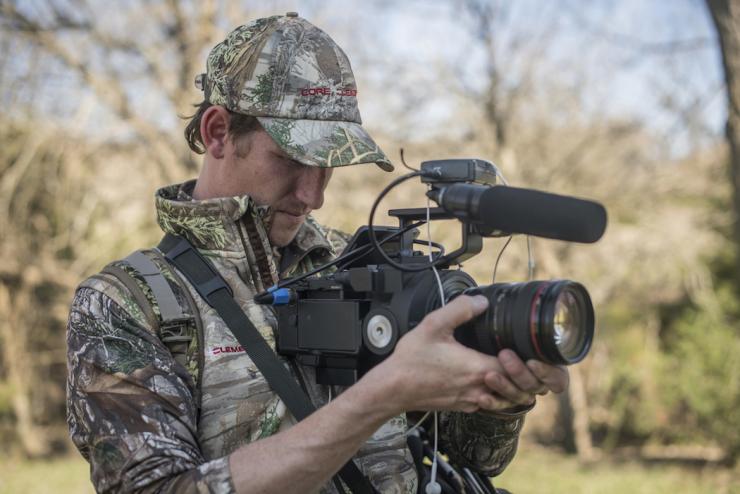
Find Easy to Use Video Shooting Equipment
You can mount a mobile recording device to your bow or gun, but this risks altering your shot and causing you to miss. Relying on a phone for recording footage risks missing opportunities when you otherwise need two hands, or dropping the phone in the muck. The better choice is to use stationary, but movable recording devices. Phoneskope sells digiscoping equipment that records what you see through your binoculars or telescope, while other vendors sell high resolution and durable recording equipment you can wear yourself, leaving your hands free while hunting. The side benefit of these stationary or automatically operating recording options is that they don’t add to your noise and motion while approaching the quarry. The last thing you want is to scare away a prize buck because of the sound you make fiddling with the camera.
Prepare a Shooting Location
If possible, set up the recording equipment in your deer blind before you go hunting, though this isn’t always practical. Setting up a shooting location where you have a trim sight line is ideal. You could set up the digiscoping equipment to capture video of any deer that come by and record your kill. You don’t have to worry about handling both the gun or bow and the phone recording the images. You should still capture the events leading up to the hunt and document events after the kill, but that is actually easier for everyone to record on their own mobile devices than when the hunt is in progress.
Plan for the Environment
Too many people think they can bring a quality camera into the wild and fail to pack it in a padded case. They may bring something suitable for use in the studio out in a cold, wet environment that ruins it. They put the camera up in tree branches and risk it falling into the grass or mud. Consider the environment and plan for it in advance. Only bring recording equipment that will survive the weather conditions it is exposed to. Bring mounting arms, if not a tripod, so you can securely mount the camera and leave it there to record events.
Practice with the Camera
In the middle of the hunt, out in the wilderness is the last place you want to rely on the user manual you may not have packed in the first place. Learn how to zoom in and out and adjust the focus before you’re in the field so that your video isn’t a jerky out of focus mess.
Practice filming in your backyard, and then practice filming locations and testing various settings. You want to be able to set up the camera and forget about it on the hunt.
Conclusion
Select recording equipment that leaves your hands free and operates silently. The ideal case is video equipment you can set and forget about while you focus on the hunt, though you still have to select equipment that operates in the field and bring the right supplies to support its use in a good shooting location. Practice with the equipment before you go out on the hunt so that you end up with an epic video instead of losing the prey because of fiddling with the camera or losing the video because you didn’t know how to get a good shot.