Shutter speed is considered to be one of the three pillars of photography (the other two constitutes of things like the ISO and aperture).
Shutter speed is responsible for creating dramatic effects in the photograph by freezing or blurring motion. In this article, we’ll discuss all these things in greater details. If you are a beginner having no prior idea of the subject matter, you may benefit tremendously from the tips mentioned in this article.
So let’s begin without further ado.
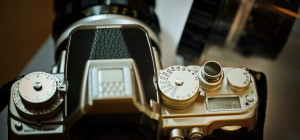
First things first: How does the camera shutter work?
The camera shutter is nothing but a curtain in front of the sensor of the camera. It stays closed until the camera’s fired for the shot.
As soon as the camera’s fired for a shot, the shutter opens up and exposes the sensor to the light.
And as soon as the sensor’s done with the collection of light, the shutter closes down without further ado.
What exactly is shutter speed?
Shutter speed stands for the length of time the shutter of a camera is kept open to the exposure of light.
If the shoot is done with a faster shutter speed, the frame will be frozen completely like the image of the horse depicted below. (In case of a faster shutter speed, the scene is usually captured without any motion blurring effects that you normally associate with a photograph depicting a body in motion.)
 A horse in motion
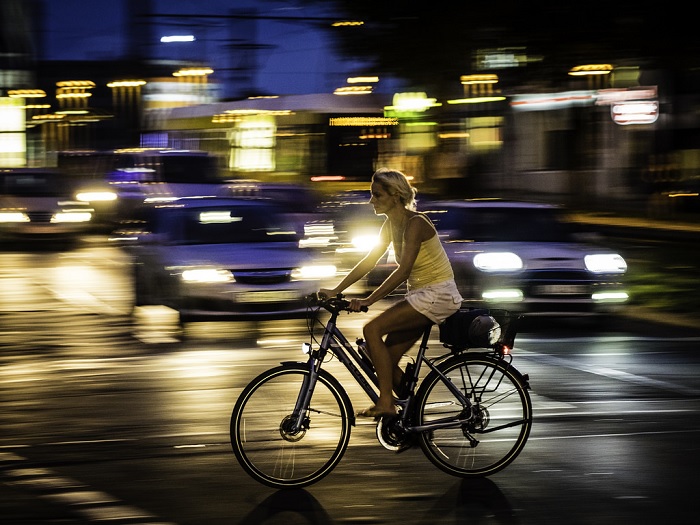
If the shoot is done with a slower shutter speed, a motion blurring effect gets incorporated onto the photograph. Here’s an example:
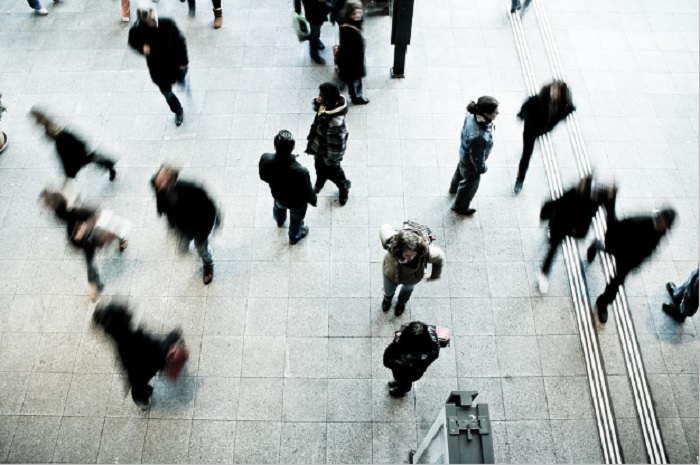 The rush hour
Shooting with a lower shutter speed: A few tips
Slow shutter photography goes very easy on the eye. It also looks cool from a certain angle and is also very capable of conveying the sense of motion to the viewer.
Let’s go through a few tips through which one can use the technique to perfection.
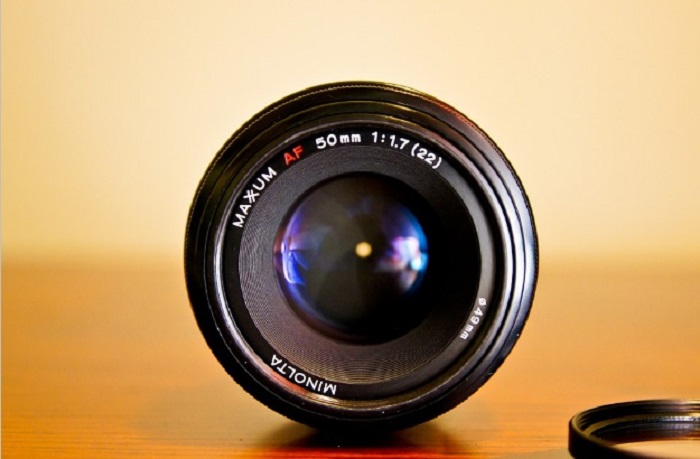
1. Basics first: Shoot with a tripod
If you want to reduce your camera shake in the best possible manner, shoot with the aid of a tripod.
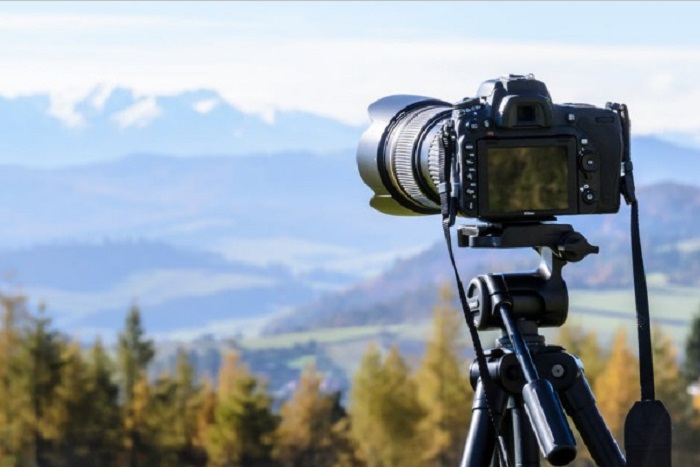
A tripod is your best bet to achieving a steady shot in slow shutter photography; a trait that’s capable of making a major difference between ordinary and extraordinary snapshots.
Remember, the goal of slow shutter photography is to capture a whole lot of light in a single photograph to produce cool blurry effects (just like the image of “the rush hour” depicted above).
But if you are shooting the entire scene with the camera in your hand, the outcome might not be as nice as you expected it to be at the start of your session itself. You need a support. A tripod can help.
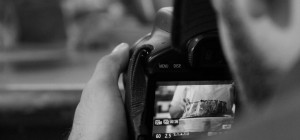
2. Use the shutter priority mode to perfection
Through the help of the “shutter priority mode,” you will be able to set your shutter time according to that of your requirements. The camera will automatically do the rest (like adjusting the size of the aperture, which, in turn, can have a direct hand in affecting the depth of the field).
Selecting a slow shutter speed (such as 20 or 30 seconds) on the shutter priority mode will allow you to capture vast amount of light in your snapshots. You will be able to incorporate some very cool motion blurs in your photograph just like the image depicted below.
3. Take the object’s speed and the direction of movement in consideration
The direction and the speed of the moving object affect the amount of motion blur incorporated in a photograph.
The faster the motion, the more is the blur.
Additionally, if the subject is moving from side to side, the photograph will depict more blur in comparison to a photograph showing the subject moving away or towards the camera.
So do remember to keep these things in mind before clicking that shutter of yours.
4. Use slow shutter speed to shoot cool light trails in nighttime photography
 Light trails
The incorporation of light trails (via slow shutter speed) in photographs is a popular method used in urban photography.
The entire photograph (just like the one depicted above) depends on a number of things ranging from the speed of the subject to the distance it is away from the photographer to the shutter speed of the camera (it’s advisable to keep it between ½ to 10 seconds).
So take those factors into consideration before clicking on the shutter.
So that’s it then. It’s time I bring this to a close for now. Hope you found the article enlightening for your purpose.