When visitors walk through the doors of the Krombacher Brewery visitor's center, a projector above their heads displays the company logo. As one is ushered through the tour, projectors display what the company calls "islands," or places where visitors can soak up the history of the brewery, which has been in operation for more than one hundred years.
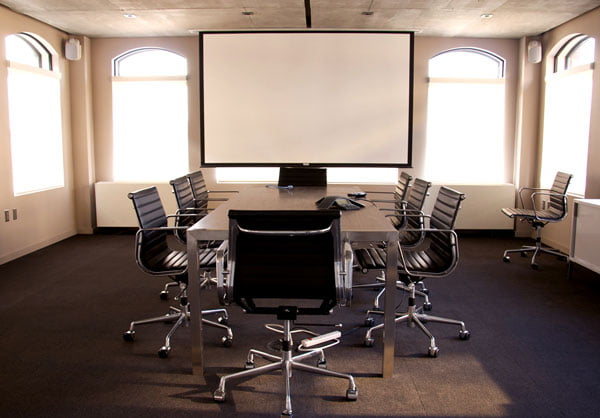
You don't need a display quite so grandiose; projectors often perform well as conference room whiteboard alternatives. When linked to a computer, projectors bring desktop functionality to your office. This allows you and your team to create a collaborative document that you can refine and distribute with project heads after the meeting is concluded. Installing a projector is a simple procedure that can be done with two people.
Find Your Throw Distance
You will first need to determine the throw ratio for your projector. The throw ratio tells you how far back you can place the projector and still get proper focus and clarity. Usually, the throw ratio is available from the manufacturer's website or in your owner's manual.
Determining Placement
To determine the exact placement for your projector's mount, you will need to multiply the width of your wall with the throw ratio. If this sounds complicated, here is a simple example:
A projecter with a throw ratio of 2.2:1 projected onto a 9 foot wide screen will need to be placed 19.8 feet away. The equation looks like this:
2.2×9=19.8
Mounting
You will need to mount your projector, and for that you should get a universal projector mount. The "spider mount" is one of the most popular units to secure your projector because it's easy to adjust and it provides a sturdy foundation that you bolt your projector to. You will need heavy anchor bolts to attach the mount to your ceiling, and you should use a drill to make the holes. A spider mount will have three or four arms that can be adjusted, but usually only one mount to bolt to the ceiling. A step-ladder will make things easier, and if you can, use an assistant to balance the projector mount while you work.
Wiring
Cabling your projector is a matter of running cables from the unit to your computer, and is as simple as connecting one end to the other. If you don't mind cables all over your conference room, this is an acceptable way to get the project finished, but an audio visual service provider can be used to correctly install the device so that the cables will be ran through the walls and ceiling and remain unseen.
In addition, you can add wireless functionality to your devices so you can present while you engage your audience. Each project will have different needs, but loose cabling can be a hazard to employees entering and exiting your conference room.
Easy Throw Distance
Want an easier way to center your projector? Grab an assistant and a piece of string. Measure out your throw distance, then have your assistant stand on the left side of your projector screen. Hold a piece of string against the side of your projector screen, and then walk your throw distance and tighten the string when you reach it. Tie a pencil to the string and then make an arc across the ceiling above where you're standing. Have your assistant move to the right side of the screen and repeat the process. Once you have marked the spot, get out your drill and mount your projector.
Invite your employees to the new conference room and show off your improvements with a slideshow about new and upcoming projects.


