In case of a fully damaged Windows installation, you need to restore it from a backup image. In a previous article I covered how to make a backup image.
To restore a system image in Windows 8, the first thing is to start the computer in System Recovery Console mode. To do this, press F8 when you turn on the computer and select Repair My Computer.
The step-by-step process explained:
1. Attach the external drive or connect the network resource where you saved the backup image.
2. Boot to the recovery media.
3. If asked, select your keyboard layout.
4. Go to: Troubleshoot > Advanced Options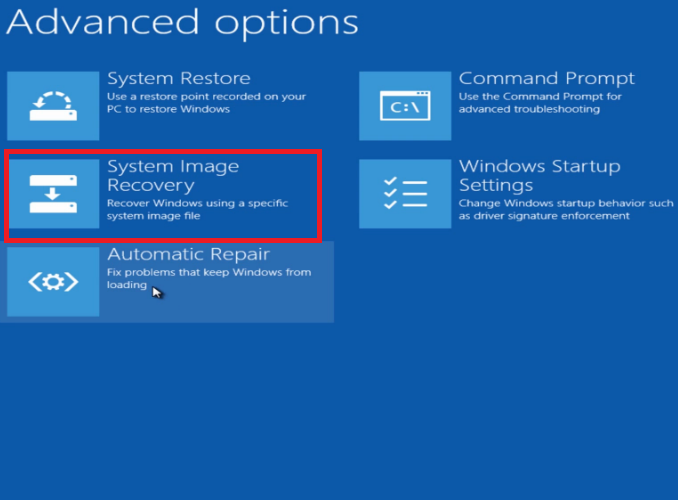
5. Choose System Image Recovery. Now the Re-image Your Computer system utility loads up and tries to locate the backup files.
6. Click Select A System Image and then click Next. The discovered backup locations show up.
7. Choose a backup location and click Next. If you store the backup on a network, connect your network, click Advanced and choose Search For A System Image. Enter the UNC path to the backup location as I previously explained in another article.
8. Select the system image you want to use and then Next. I recommend you don't check the box that says Format And Repartition Disks but this is up to you.
9. Click Finish and Yes. Now the restore process begins and may take some time according to the size of your backup (up to few hours). When done, the PC reboots.
Watch this video for more details (jump to minute 6.50 for the restore procedure):
[youtube http://youtu.be/cO4uh0Uvkew]