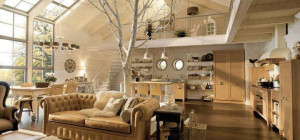
If you feel like changing your kitchen design, purchasing a new kitchen cabinets should be the last on your mind if If you feel like changing your kitchen design, purchasing a new kitchen cabinet should be the last on your mind if your current one's material is still very much intact and structurally sound. In fact, a new cabinet purchase is the least recommended solution for homeowners wanting to remodel on a budget. For one, it is very costly to replace your kitchen cabinets with new ones, plus, your choice should fit perfectly into your current kitchen layout. Otherwise, you will be forced to choose a custom-fit cabinet which, we know, is more costly than most types of cabinets out there. Such could cost anywhere around $15,000-$50,000 for custom cabinetry, which is something that you might not be prepared to let go so easily. So before you dive into any hasty decision, review all your options first and make a sustainable plan that is tied with your goal, timeline, and budget.
Breathe new life into your kitchen while saving you a lot of time and money through cabinet refacing. Cabinet refacing involves a series of processes wherein the exterior parts of the cabinet, including drawers and doors, are covered with thin strips of veneer, real wood or plastic laminate. Hardware such as pulls, knobs, handles, and hinges may also be replaced to complement the exterior style. Such could cut your expenses by as much as 60%, plus, you can do this independently. With just the right tools and a step-by-step guide for you to follow, you will be able to wing it like a pro.
It's easy as 1-2-3
Refacing old kitchen cabinets on your own is like following a simple recipe. Once you have all the right tools and materials, everything will be a breeze. This step-by-step aims to help novice DIY-ers an easy-to-follow guide, which was divided into 3 phases: preparation, refacing and finishing.
Phase 1: Preparation
Like many wood projects, preparation is often the key to a wonderful finish. Follow these steps meticulously to produce the best results:
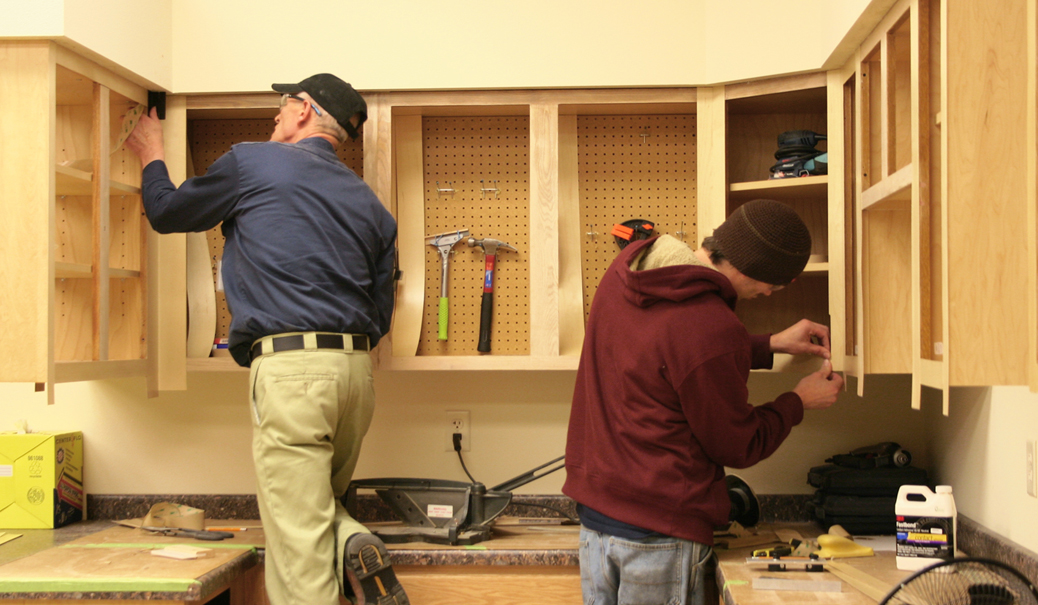
- Remove doors' hinges by using a screw driver or Phillips. Remove drawer fronts by hammering them loose from the cabinet's board. Ensure that you have removed all the nails attached on it.
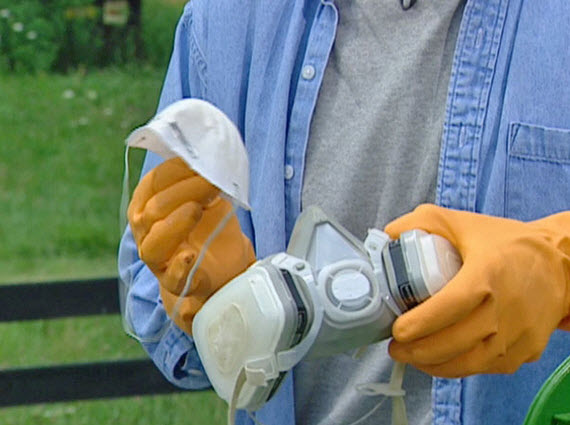
- Before you do this next step, make sure that you are wearing proper gear such as rubber hand gloves and eye protection. You will need this gear plus extra caution since you will be working with a strong cleaner known as TriSodium Phosphate (TSP). This solution is used to remove stubborn dirt, grease and grime from the cabinet's surface. Once suited up, clean all the faces and sides of the cabinet until all visible dirt are removed. Air dry.
- Once dry, sand it with a 150-grit sandpaper until you have achieved the surface smoothness you desire.
- Wipe off remaining dust and dirt with a tack cloth. Using a tack cloth makes the cleaning process easier because it helps lift small particles.
Phase 2: Refacing
Once you're done prepping, you can now start the actual refacing process. This process involves covering up the old cabinet exterior with veneer, real wood, or plastic laminates, which ever you prefer. In this case, we will be choosing a veneer cover-up. A veneer is a thin wood sheet, usually made of excellent grain that will be glued to the exterior of the cabinet. It has an adhesive material that's peels off easily and sticks to any surface, which means that glue is no longer necessary in the process.
- Measure the stiles and rails of your cabinet.
- Before cutting, make sure that the grain is lengthwise, for an easier cut.
- Cut the veneer into strips, each measuring half an inch wider and 2 inches longer than your stiles and rails. This way, you have a size allowance for each side in case you jaggedly cut through the board. In order to measure and cut accurately, use a straightedge and a utility knife.

- When you're done and convinced that you have measured precisely, start sticking the veneer onto the stiles. Don't peel off everything at once as the veneer might stick on unevenly on the stile. Instead, peel away a corner then stick it on the surface of the cabinet, making sure that each side adheres evenly. Press the veneer in place and peel off the self-stick backing as you go.
- Repeat process for the rails. Veneer for the rails should overlap the stiles.
- To force out air bubbles and make sure the veneer sticks correctly onto the rails and stiles, press down the veneer using a wood block. Ensure that the surface is even with no bumps.
- Remember the excess veneer that's wider and longer than the rails and stiles? It's time to trim them off according to the exact size of the stiles and rails. Use a straightedge and utility knife for cutting, for that perfect, even cut, each and every time.
- Repeat the process for all the cabinet frames.
Phase 3: Finishing
- You can enhance your cabinet's look by incorporating some clever and creative designs on cabinet doors as added accents after refacing your cabinets. Stencils and textured finishes can a distinct and unique flair to a plain-looking cabinet door. You can also replace hardware such as pulls and handles to add a little kick to the overall look of your cabinet. Contemporary or vintage, there's always a piece of hardware that matches your theme.


- Once the finishing touches are done, using a pencil, mark the areas where you want the hinges attached to the cabinet door. Instead of using a screw driver and hammer, use a drill to bore holes into the marked areas. This way, the screws will bore in easily with a clean finish.
- Do the same for your knobs. Don't force screws by hammering through as this might damage the veneer and crack the wood altogether. For every task, there are tools that do the job best, so make sure you use the right ones to yield outstanding results for your home improvement projects.

And you're done! You can now enjoy a great-looking cabinet that looks like new without spending a fortune. The next time you want a remodel, think if you have stuff around the house you can reuse or refurbish. Before throwing out some furniture, examine them closely for they may look dingy and old on the outside but may still be very much in great condition in terms of structure and material quality. Add a whole new meaning to your kitchen by recreating something new from the old.
Marie Christine Sing-Umali is a blogger and home improvement enthusiast working for Kitchen Cabinet Kings, a leading online distributor of discount bathroom and kitchen cabinets nationwide. If you are looking for high quality birch, maple, bamboo, and oak kitchen cabinets, you can count on Kitchen Cabinet Kings’ RTA Cabinets. Claim your free kitchen design service, discounts and know more about financing options by visiting their website.